Blog
Fair Cake Brownies
Aug
Brownies are intensely personal sweet treats. I like them super gooey with a very moist crumb. I do not like very dense brownies, the kind that stick to your teeth and prevent you from smiling gleefully while eating a large chunk. I practically never make the same recipe twice, but keep adding/deleting chopped nuts, berries etc. That said, I do know that a number of my friends stick to the same recipe and prefer their brownies to remain the same. Every. Single. Bake. To each their own.
So here is a recipe that is infinitely changeable, if you so wish. Add and delete optional ingredients as you wish. As long as you keep to the same basic recipe, you will have a lot of fun experimenting!
Ingredients
- 120 gms good quality cooking chocolate (at least 60% cocoa solids)
- 175 gms unsalted butter (salted, if you prefer)
- 400 gms caster sugar
- 3 medium eggs
- 1tsp good quality vanilla extract
- 125 gms plain (all purpose) flour
Optional Extras
A handful of (around 125-150 gms, not an exact science) –
- Dried cranberries, strawberries, raspberries, raisins, sultanas, or
- Chopped nuts, or
- Chocolate chips (milk, white, dark), or
- A combination of the above in any form you like. Just keep to around 150 gms.
Method
I have made these brownies in two different ways, both with equal degrees of success. One was using a muffin tin and one using a 9inch square cake tin. Shall we talk about the muffin tin first? Are you thinking that I am bonkers? I thought not. I am simply giving options here, not everyone has a 9inch square cake tin around.
If using a muffin tin, melt some butter and grease the wells with a pastry brush. Shake a good amount of cocoa (not drinking chocolate, no no) on the butter to coat the insides of each well and you are good to go. If you are using a cake tin, line the bottom and sides with parchment paper, or even aluminium foil. If you have a fancy non-stick cake tin, I do (but then I run a pretty awesome cake school, it is to be expected that I be at the forefront of tin buying), simply grease slightly with butter. In the case of foil, grease the top of the foil with butter.
Preheat your oven to 175C, non fan. For fan assisted ovens, please check your oven manufacturer’s guidelines about reducing temperature, each one is different.
Melt the butter and cooking chocolate in a large heat proof bowl over simmering water. Or simply use a microwave at medium heat. Your job is to ensure that this mixture does not burn. Take your time. There is no rush. Remove from heat and mix in the sugar. Mix well with a whisk or a wooden spoon. The mixture will cool down slightly. Perfect. Add the eggs and vanilla. Mix. Add flour and throw in whichever nuts or berries or optional extras you are throwing in. Mix well with a wooden spoon. Enjoy the beautiful sound this mixture makes while you mix it!
Put your mixture in a muffin tin, like so:
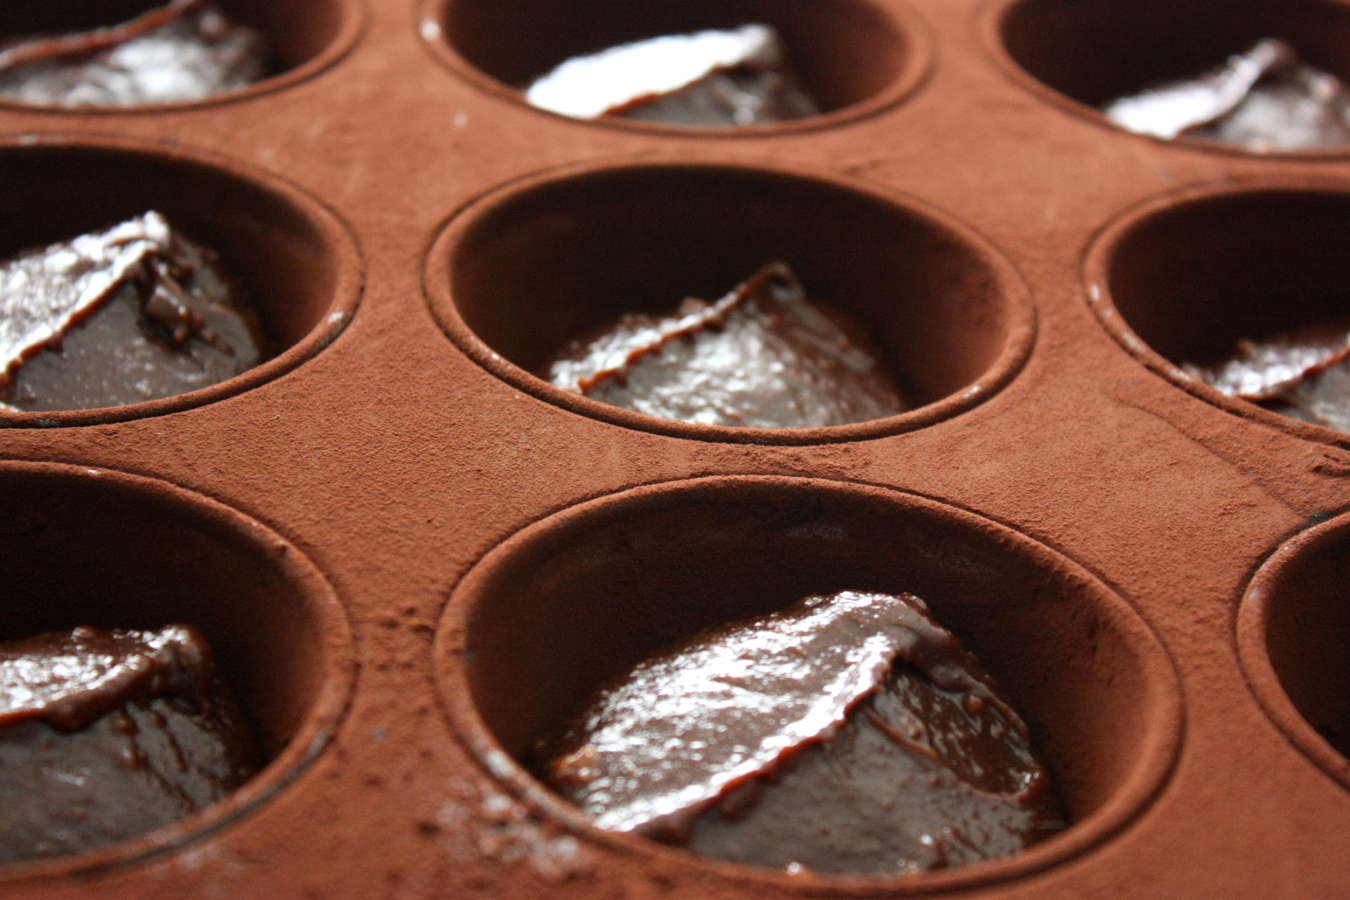
Take care when filling in. Fill the muffin wells up so that the height of your mixture is about as high as you want your final brownies to be. If you are using a 9inch square cake tin, simply pour the mixture in.
Bake in a preheated oven for 30-25mins. Check at 25mins, a toothpick should come out with very moist crumbs attached. If the mixture is still wet, bake for another 5mins. Check again. Allow to cool at least 15mins in the tin.
This is what round brownies will look like when baked. Notice the mystery of the disappearing cocoa powder.
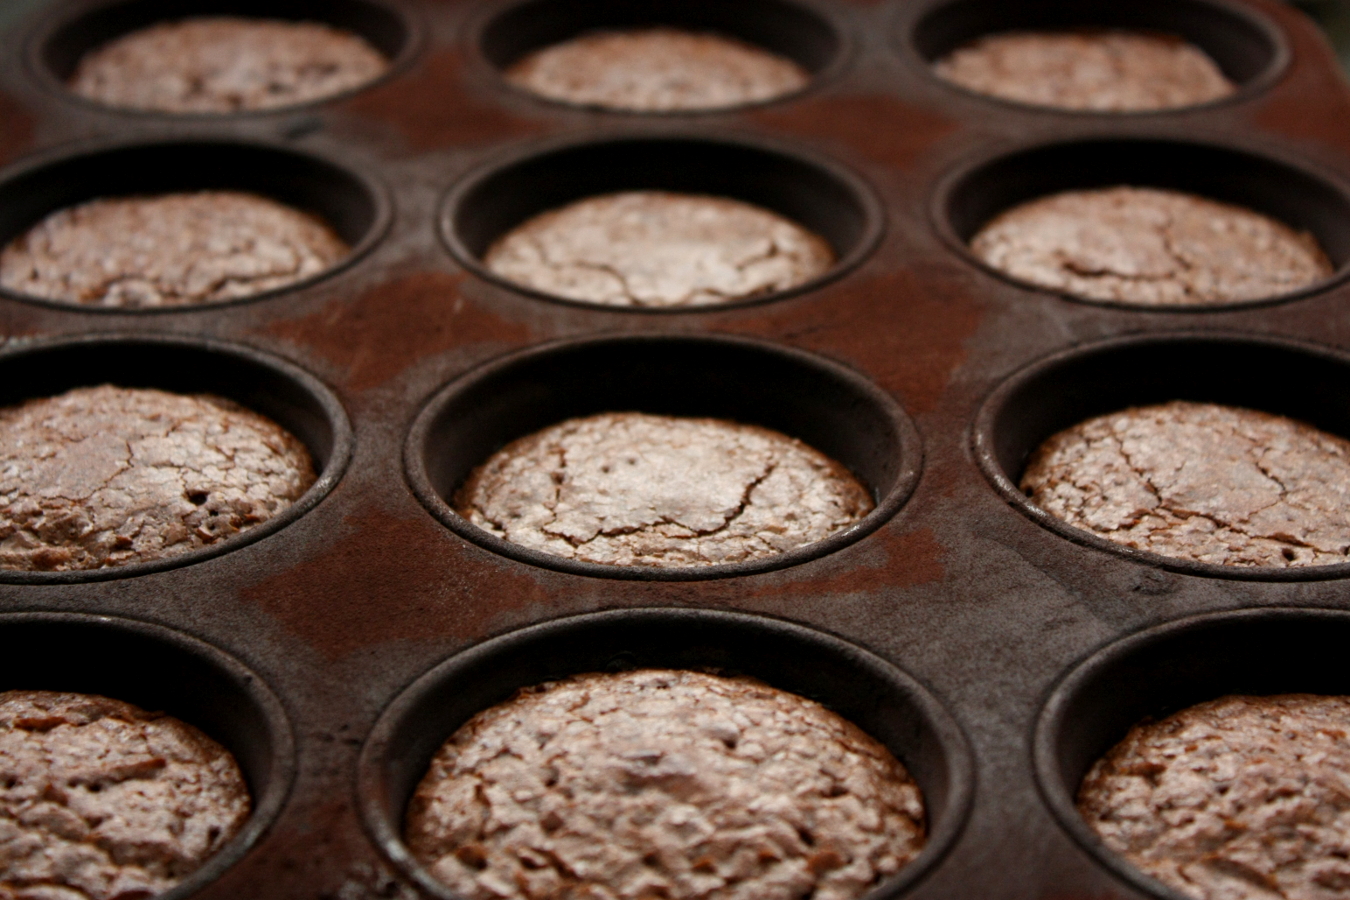
Once cool, these can easily be extracted with a palette knife.
This is what the finished product looks like –
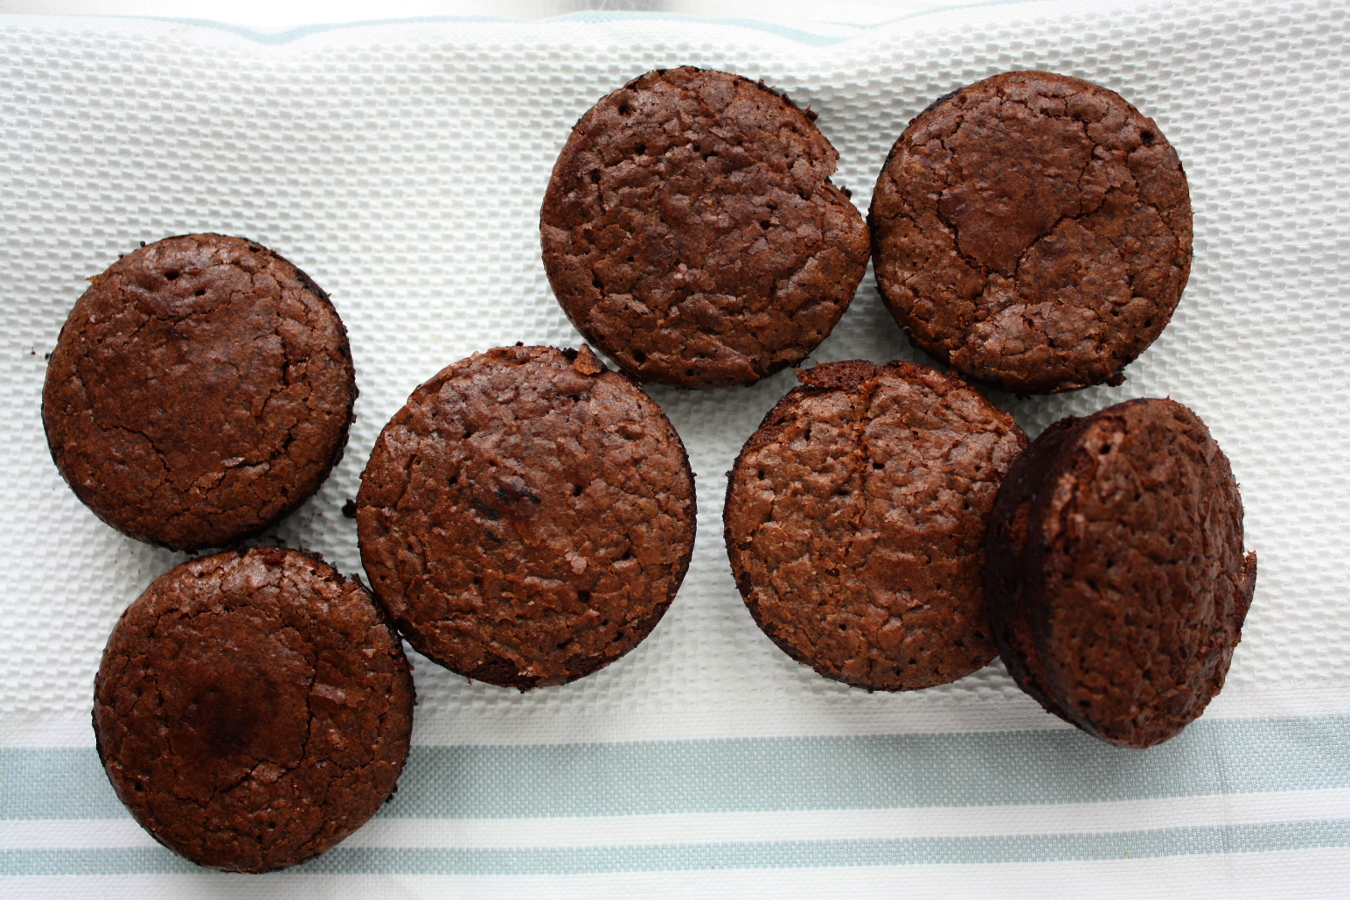
Each perfect little round brownie is perfect with a cup of tea or coffee, or a glass of milk or water. Anything, really. When you are reading a magazine with pretty pictures of food, getting hungrier every minute, eat these while reading. These are smugness inducing brownies. Quite a claim, but I stand by it.
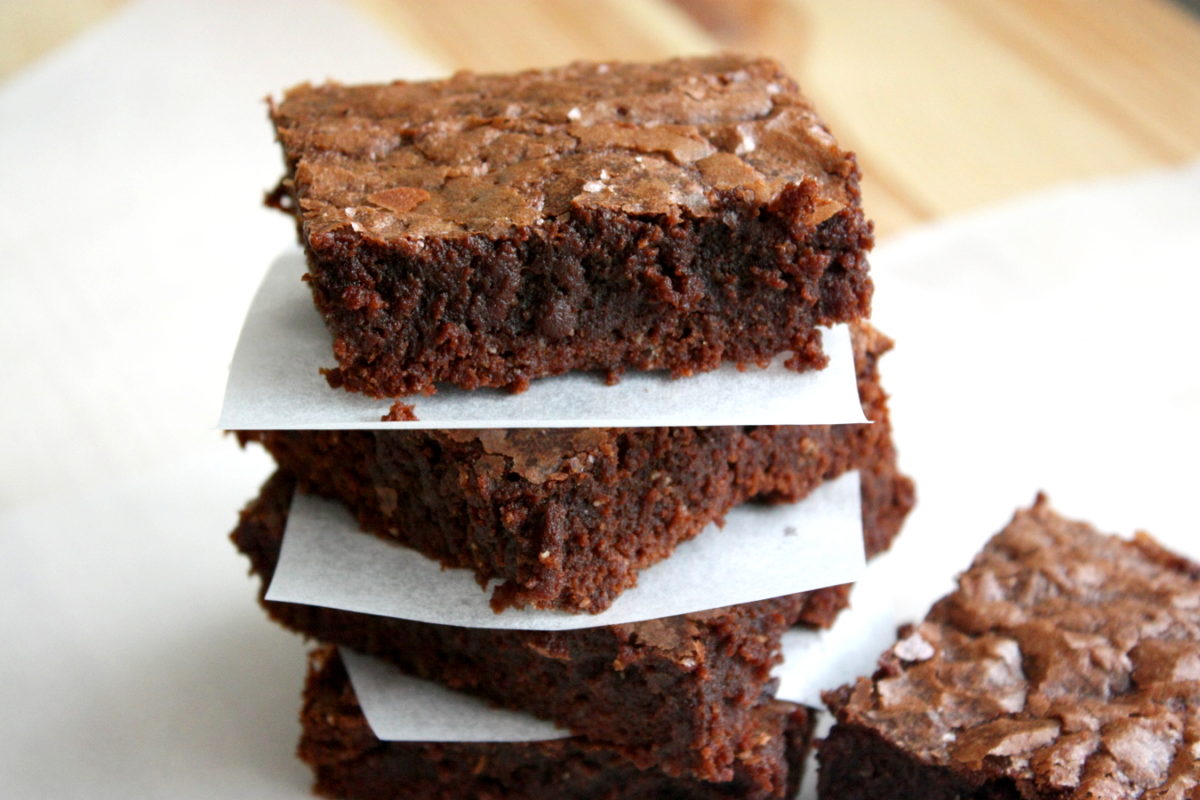
Before I forget, here is what the square brownies look like, especially when cut in “squares” by too eager a person.
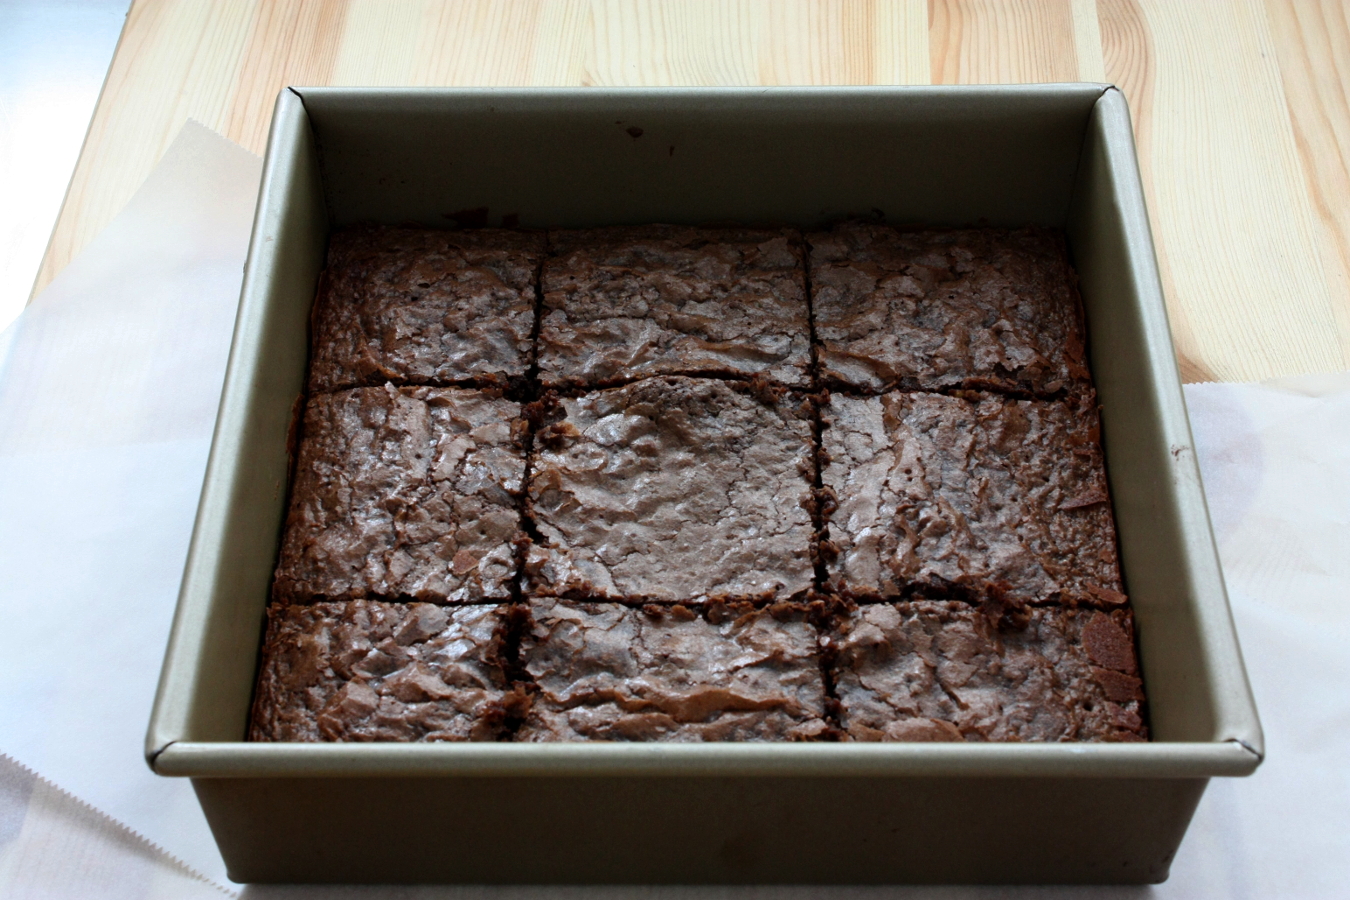
This is my fancy non-stick baking tin. I get slight palpitations when I cannot find it.
And finally, what is a blog post about brownies if there isn’t a picture of them stacked up? I assure you, once again, that I do not habitually stack up brownies with neatly cut squares of parchment paper in between. I was compelled to, for the sake of this picture –

Anyway you bake, these will keep beautifully for at least four or five days in the fridge. In fact, they get better tasting after around 24hours in the fridge. They get a touch denser and firmer and all round better.
Enjoy!