Blog
The Rainbow Cake Weekend
Jun
Ah, the rainbow cake. Pictures of this cake are all over Pinterest and Instagram and Google. And why not? This turned out to be a seriously gorgeous cake to make. Is it worth making this cake just so you can see the finished result? Absolutely. Is it worth 7 hours of work? Maybe not. But, then again, it was just SO satisfying to make. For all bakers out there, with a bit of time and patience, this will prove to be a fun weekend project. Weekend? Did you say, the whole weekend? Yes. By the time you have weighed out ingredients, somehow managed to get your hands on six cake tins (disclaimer: Fair Cake is a cake school, we have tins, I am talking about non-cake-school-people who most probably do not have six cake tins hanging about), tinted all the colours, baked everything and then washed up, Saturday will have said goodbye.
To begin with, a white cake works best for this cake. A White cake is a cake that does not use egg yolks. We used Martha Stewart’s basic white cake recipe, why reinvent the wheel?
I used this recipe, of a classic white cake, but multiplied it by 1.5. So yes, some maths came in handy. Once the batter was made, it was time to colour it up.
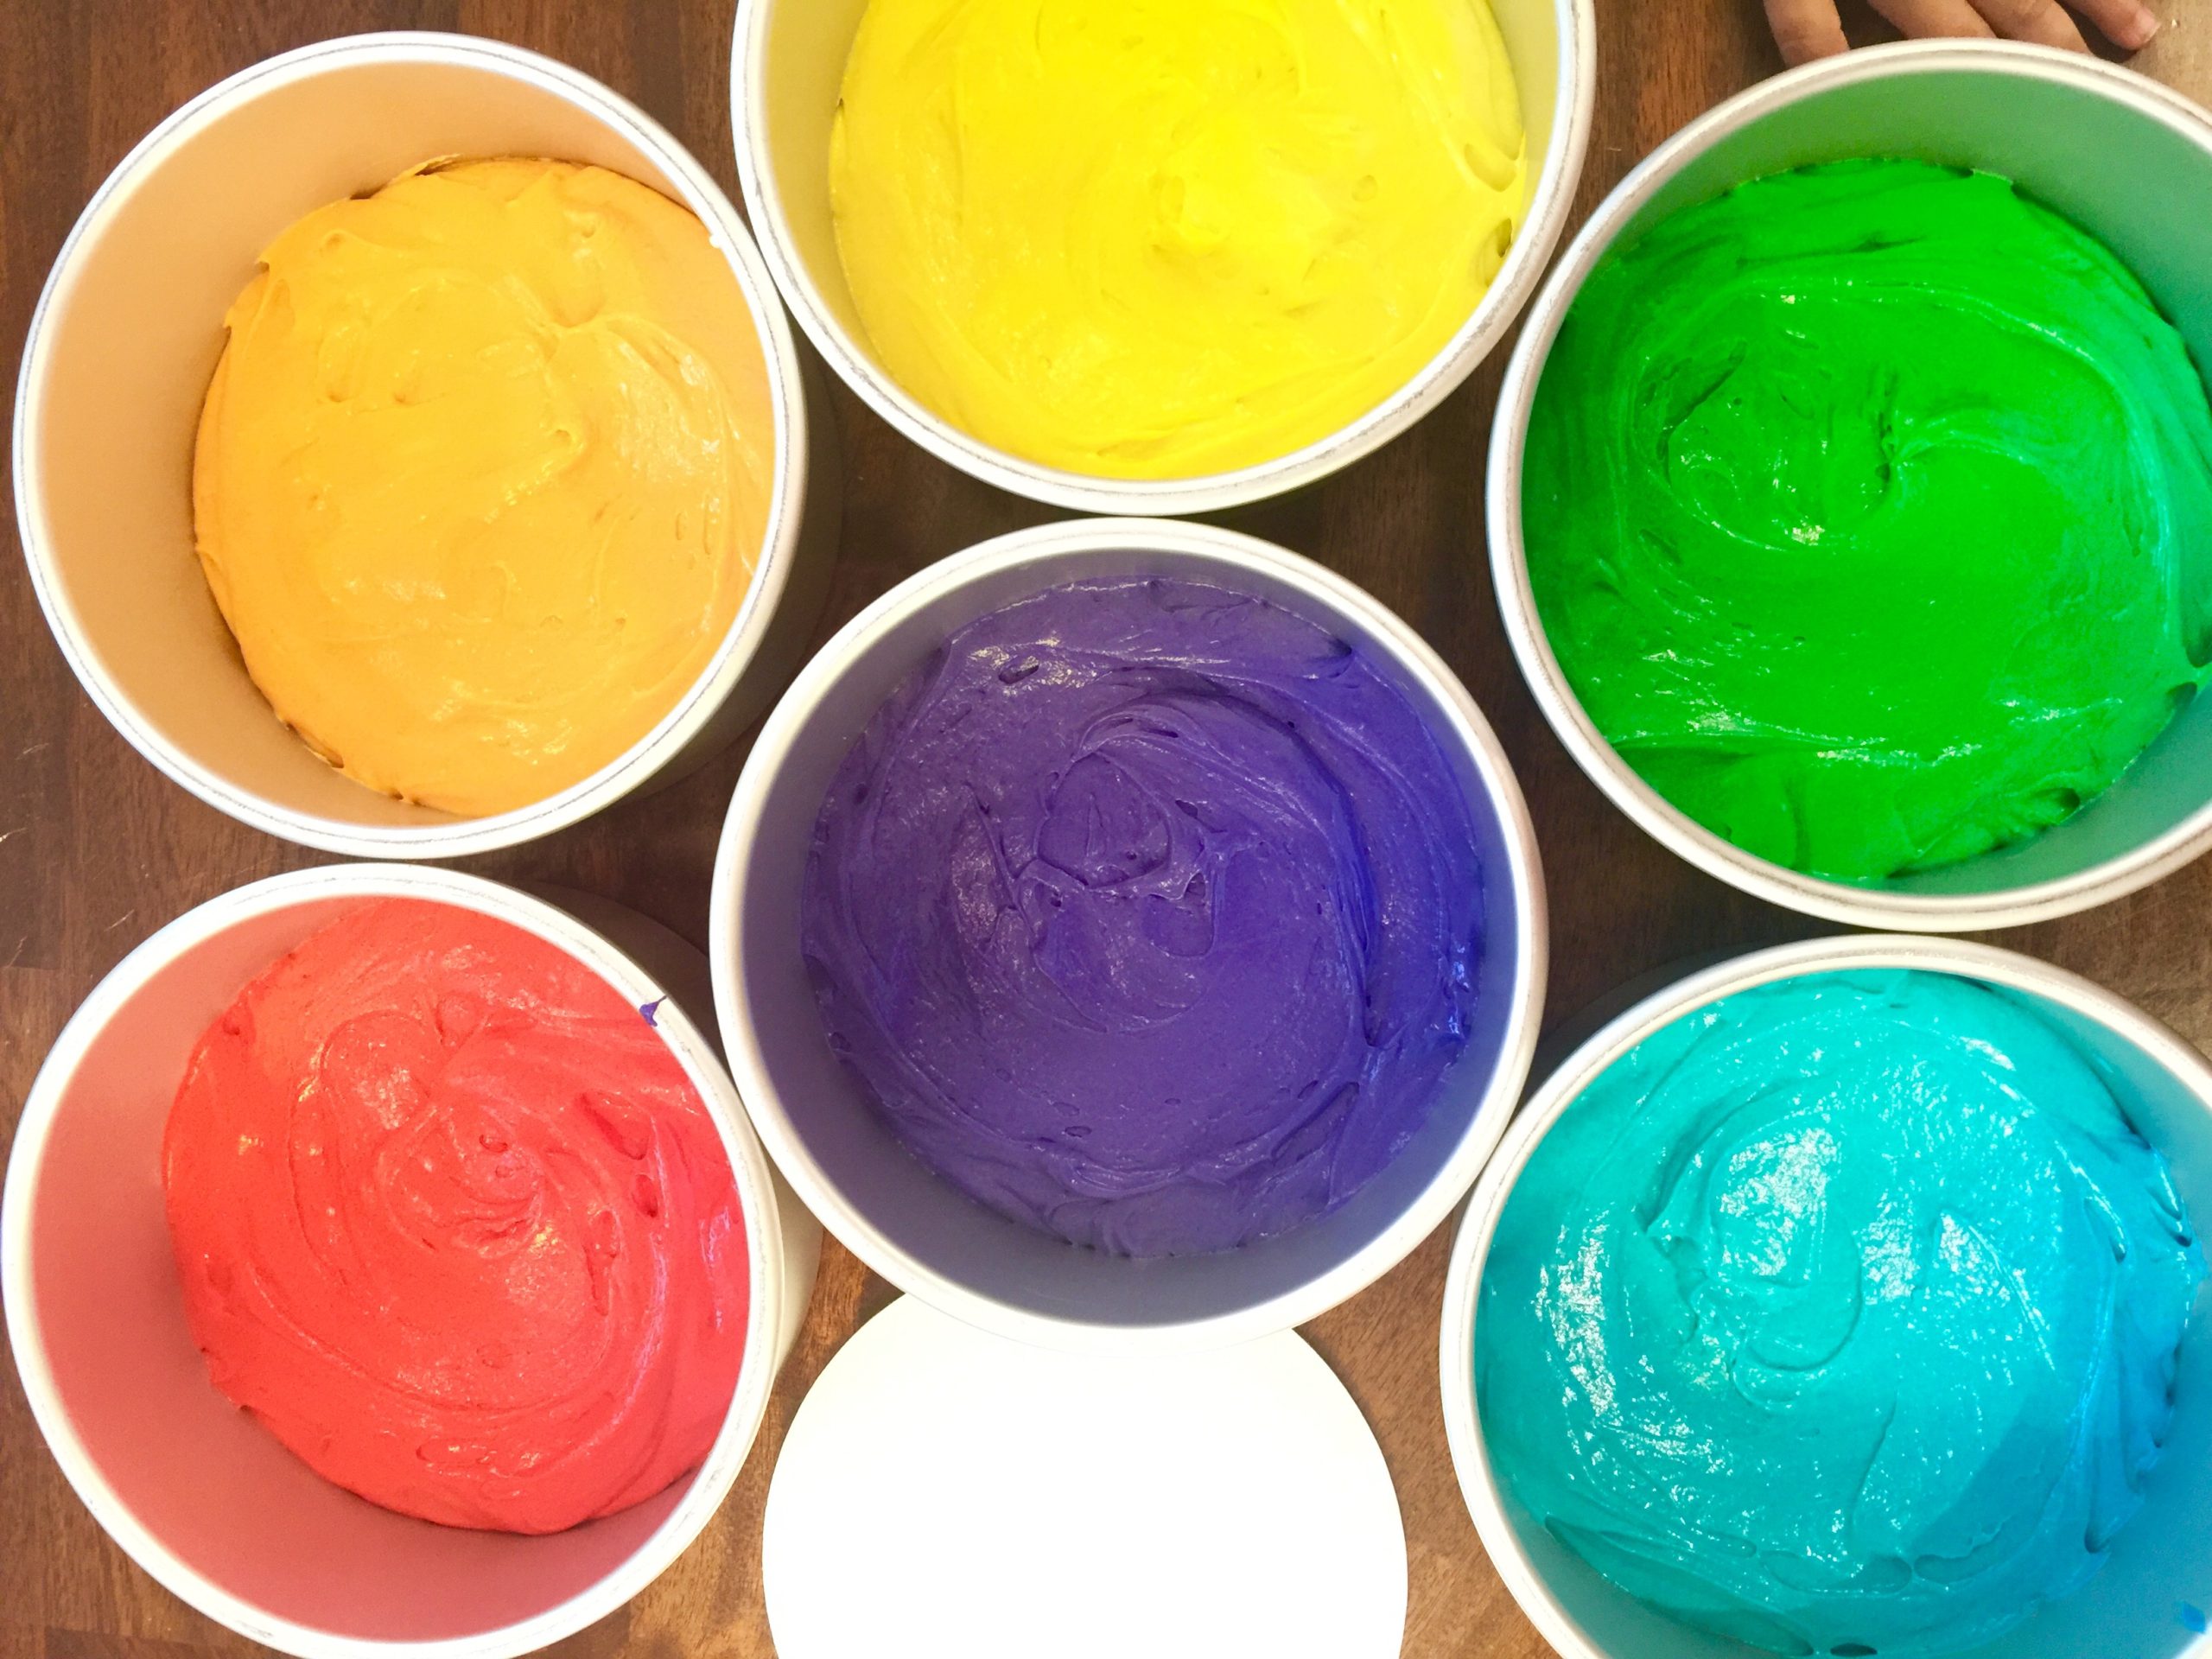
This, my friend, was no mean task. If you are reading this, you probably know the importance of keeping all those air bubbles in cake batter firmly where they belong. However, when you mix this much colour, you end up losing quite a bit of the lightness of the cake. But, I wanted rainbow colours and I got them. The colours used are: Americolor Violet, Sugar Flair Poppy Red, Sugar Flair Melon, Americolor Leaf Green + Sugar Flair Bitter Lemon/Lime (I have a thing about the right shade of green), Americolor Electric Blue, and, for the orange, a mix of Poppy Red and Melon.
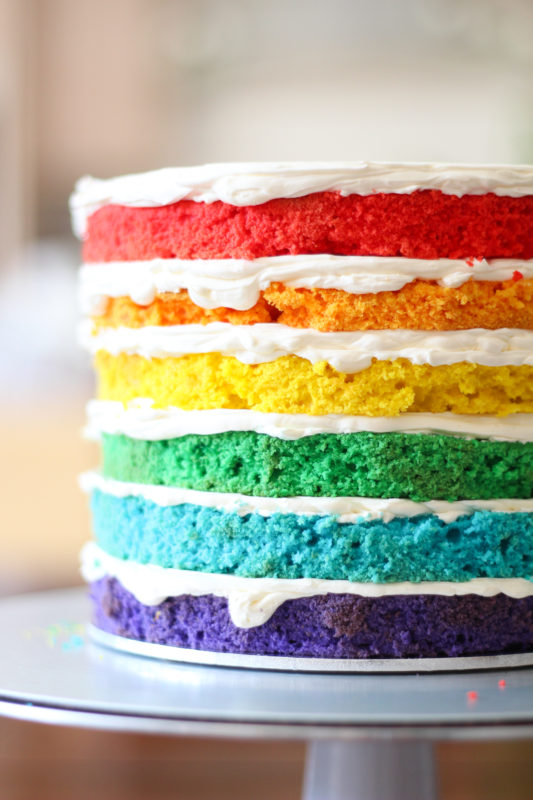
The cakes are 7″ in diameter and came out around an inch high each. My heart did sink once the cakes were out of the oven. They all looked like different shades of brown! But, once the top had been levelled, the sides shaved down, they turned bright again!
This is an image of all the top bits.

So far, so very good. You can see that the cakes turned out crumbly, I put this down to all that food colour sloshing about. The next stage was the wait. You see, if you try to assemble this cake on the very day that you bake, you are heading for a little disaster. Cakes, in our humble opinion, need a bit of fridge rest. And, no one but you are going to do all the tidying up. This cake was made in my house, not workshop, so it was all systems, err, wash. All in all, the baking and cleaning up took up an entire afternon. All the cakes were wrapped up in cling film and left in the fridge to set up.
Swiss Meringue Buttercream and Its Joys
The Swiss need particular mention for inventing this buttercream. We love the relative simplicity of it. No thermometer involved. Here is our recipe. This cake needed1kg, that is correct, 1kg of butter, in buttercream. Let us collectively skip talking about consuming so much sugar. We all go and run in the park, I am sure. Let us move on, quick. We recommend using President or Lurpak butter, it is whiter!
Ingredients
500gms caster sugar
240ml liquid egg whites
4tsp vanilla extract
1kg unsalted butter
Method
Add sugar to egg whites in a microwave proof bowl. Using half power, heat in 30seconds increments (depending on how brave you are feeling, go up to 1 minute intervals. Any more than that and you risk making omlettes) until all the sugar had dissolved. Put this sugary syrup in a stand mixer bowl and using a whisk attachment, whisk until a very stiff meringue forms. This takes 5-8 minutes, depending on the amount of buttercream you are making. Start adding soft butter, bit by bit, once you are sure that the butter won’t melt into the meringue and that the meringue has cooled enough for this. Once all the butter has been incorporated, add vanilla, and you are good to go!
——-
Sunday
Once I mentally prepared myself for the task ahead, there was no stopping, really. BUT, nothing prepared me for just how long little mundane tasks would take. Even peeling off all that cling film was time consuming, violet and red crumbs stuck to the floor, to me, to the dog, to everything… Eventually, a proper turntable was summoned and on top it sat a rainbow of cakes, liberally slathered with white meringue buttercream.

You can sort of see the slight remaining brown bits on the purple layer, I was clearly not thorough enough there. Anyway, the final height of this cake was just over six inches, but given that the cakes were so dense, they did not wobble.
The cake then needed a crumb coat –

You might see strategically placed house plants to hide ALL the mess behind the cake. A shallow depth of field also came in quite handy. Hello, fellow orographer, a big hello to you too!
Once I was on a roll, camera and piping bag in hand, it was tremendously joyful to do the final finishing touches. This involved dividing up the remaining buttercream in six bowls. Just writing about all that washing up I did is painful. Anyway, I used exactly the same colours, in smaller quantities, to colour up the buttercream. Then, mostly because I wanted to show off, I uploaded mini Instagram videos as I went along. One day, soon, I will edit and put these all together in a separate video, but that is work for another day.
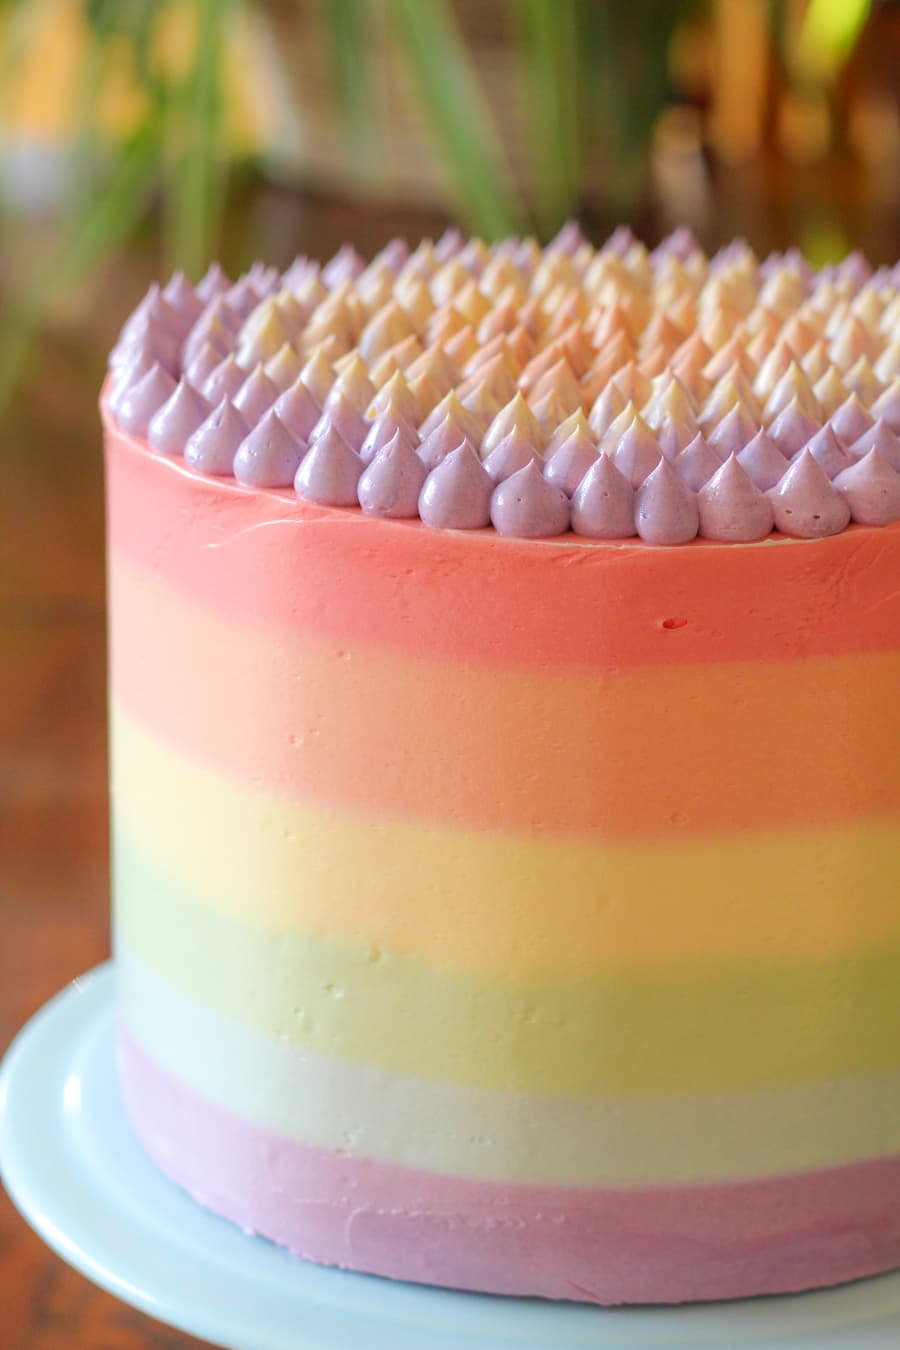
To see how these stripes were made, check out our Instagram account or Facebook Page – there are a few videos there. Will post the same videos here too, promise!
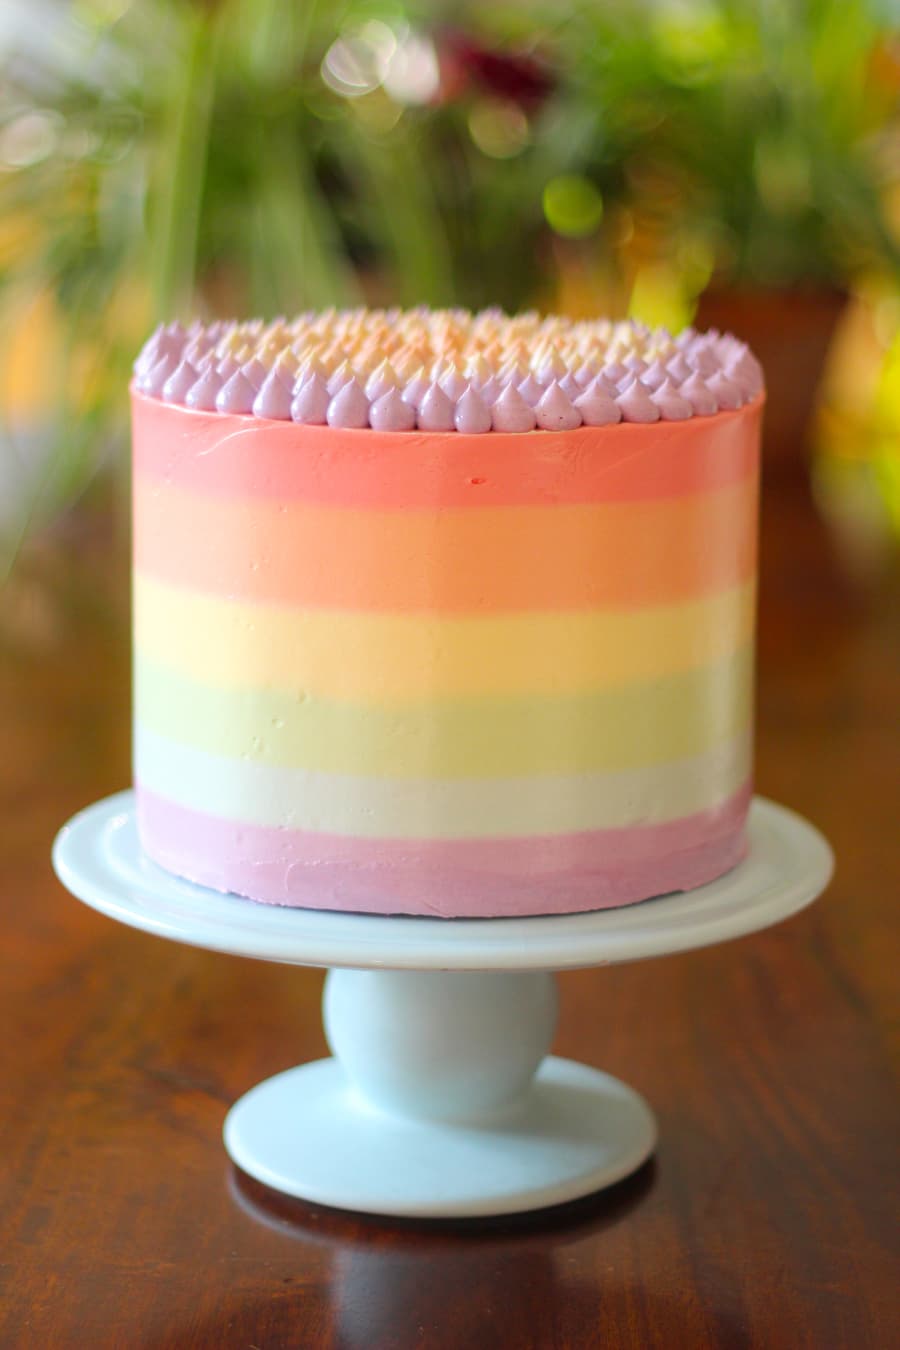
Here is what the cake looked like – you have got to indulge the photographer in me. This was just far too beautiful to not take umpteen pictures.
Of course, for the final reveal. Now, this is a bit of an interesting story. I chilled the cake in the fridge, for as long as I patiently could, and then sliced the cake. There is a video you need to watch, right here. As you can see, the slice was not exactly, what I call, Pinterest perfect. You can see bits of crumbs on the buttercream. Now THAT is the way to eat this cake, by the way, at room temperature, when the buttercream is still creamy and soft. It could be personal opinion, but I would say it is my professional opinion as well. No one likes to eat hard buttercream!
Having said all of that, I was able to take a good enough picture on Pinterest and here it is:

This was not taken on Sunday, but Monday morning! If I could have an emoji here, you know the one of crying with laughter, I would insert it right here. But, this blog is, you know, all professional.
The secret to this image is that the cake was thoroughly chilled in the fridge, overnight and you get such a lovely crisp image. BUT, if you are into eating cakes rather than cake photography, perhaps eat it soon after it has been decorated. Another emoji is missing from the end of previous sentence!
Anyway, you can see from the following image the difference between cutting the cake an hour after decorating (to the left) and after around 12 hours in the fridge, to the right:

See, this is practically an educational cake post. And about cake. What else could you possibly wish for?
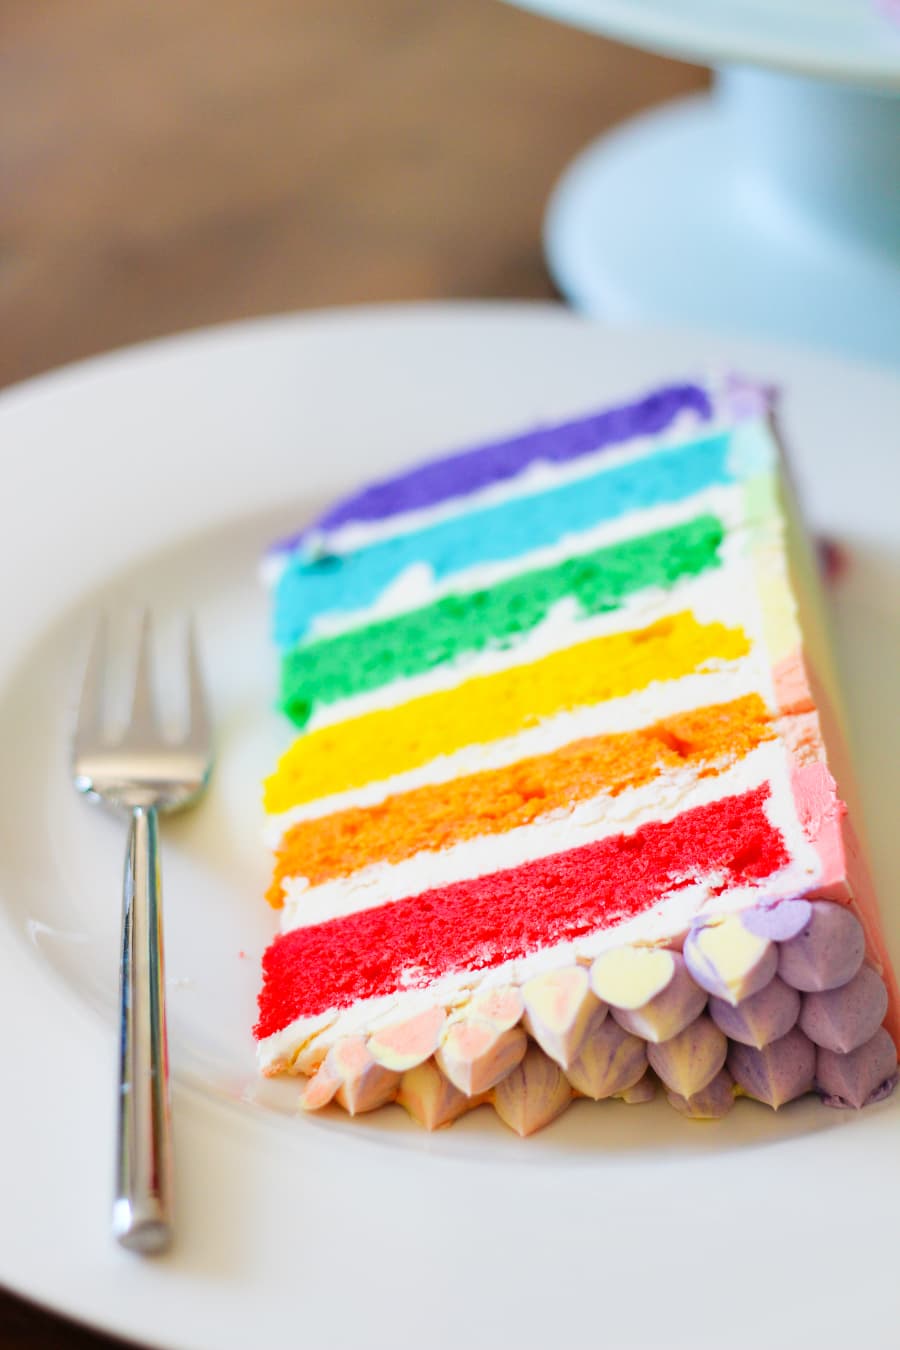
Finally, here is that obligatory shot of a cake fork, for that is what we use to eat cake, not grubby hands, and a beautiful cake slice. If I did not do this, I would not be much of a blogger, would I?!
So, how did it taste? Vanilla! It tasted of vanilla, absolutely nothing else. Given that we run a cake school and talk about and deal with cake all day every day, I could “sense” a bit of food colour aftertaste, especially in the purple sponge, but non-cake people, as I affectionately refer to everyone else, could not tell. Not at all. The texture of this cake ended up being pretty fine crumb and fairly dense, because of all that mixing that was done to mix in the colour. It was still very very good. All that buttercream, all one kilo of butter, added a very good moistness to it. And, once it was chilled, it was pretty easy to transport. From the fridge to the table. Ha!
Sx